How to Replace a Tail Light Bulb or Unit (Step by Step)
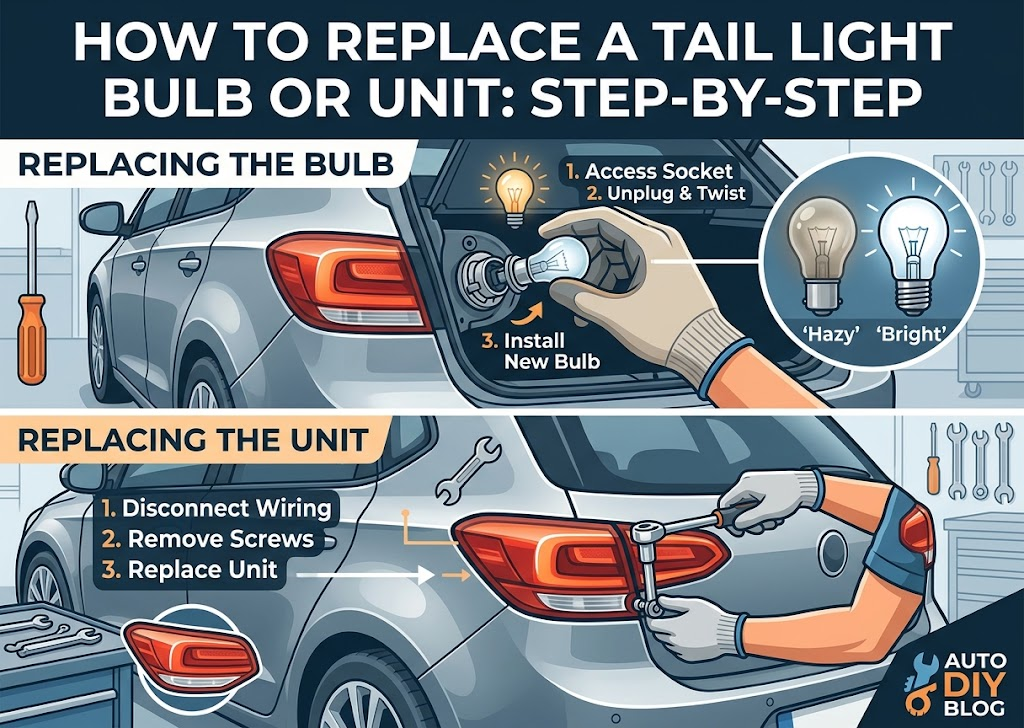
Short answer: to replace a tail light bulb, open the access panel or cover inside the boot, twist out the bulb holder, swap the bulb and refit everything. To replace the whole unit, remove the fixings, disconnect the wiring plug, take the old unit off and fit the new one with its seal. Access differs from car to car, so check your owner’s manual first. On most cars it’s a job you can do at home with basic tools.
This guide covers both jobs, plus what to check before you start and after you finish.
Table of Contents
Before you start
- Find your bulb type. Your owner’s manual lists the correct bulb, or you can check the old one once it’s out.
- Make sure you have the right part. If you’re replacing a whole unit, match the model, year, side and position. Our guide on how to check headlight compatibility was written for headlights, but the same steps apply to tail lights.
- Gather basic tools. Usually a screwdriver or a Torx or socket set, a trim removal tool and a cloth.
- Switch off the lights and the ignition, and work somewhere dry and well lit.
How to replace a tail light bulb
- Open the boot or tailgate and find the access panel or trim behind the light unit. On some cars you need to lift a flap, or remove a cover held by clips or screws.
- Remove the bulb holder. Most holders twist a quarter turn anticlockwise and pull out. Some have a small clip you need to release.
- Identify the faulty bulb. Look at the filament or the colour of the glass. If you aren’t sure, compare it with a new bulb.
- Remove the old bulb. Push and twist, or pull it straight out, depending on the type.
- Check the holder. Look for green or white corrosion, burnt plastic or bent contacts. Clean them gently if needed.
- Fit the new bulb. Handle it by its base or with a cloth, and push it in fully.
- Refit the holder, twisting it until it locks, then replace the cover.
- Test it before you pack up: lights on, brake pedal pressed, indicators and reverse.
How to replace a whole tail light unit
- Open the boot or tailgate and remove the trim behind the light to reach the fixings.
- Disconnect the wiring plug. Release the clip, and pull the plug straight out. Take a photo first if the connectors look similar.
- Remove the fixings. Most units are held by nuts or screws inside the boot. Some also have a clip or a locating pin.
- Ease the unit off. Pull it gently outwards. If it sticks, check for a hidden screw or clip rather than forcing it.
- Move over the parts you need. If your replacement unit doesn’t come with bulbs and holders, transfer them from the old one.
- Check the seal. The gasket between the light and the body keeps water out. Make sure it’s in good condition and sits correctly.
- Fit the new unit. Line it up, push it into place and tighten the fixings evenly, without overtightening.
- Reconnect the plug and check it clicks in.
- Test everything before you refit the trim.
After you fit it
- Check the tail light, brake light, indicator, reversing light and rear fog light where fitted
- Look for gaps between the unit and the body, and check the seal is flat
- Check for moisture inside the unit over the next few days
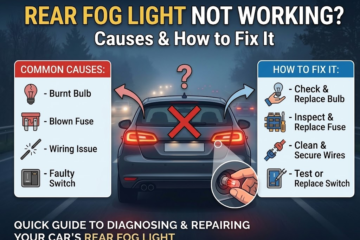
If the light still doesn’t work, our guide on tail light not working shows how to check the holder, fuse and wiring.
When to get a garage to do it
- You can’t reach the fixings without removing the bumper or large trim pieces
- Your car has LED units with control modules, sensors or a rear camera nearby
- A fuse keeps blowing after you replace it
- You’re not comfortable working on the wiring
You can find a repair shop if you’d like a professional to do it.
Buying a used tail light unit
A matching used tail light is often the more affordable option, especially for LED units. Before you buy, check the lens for cracks and moisture, and make sure the bulb holders, mounting tabs and plug are intact. You can browse used tail lights on Autolight and filter by make, model, year and side.
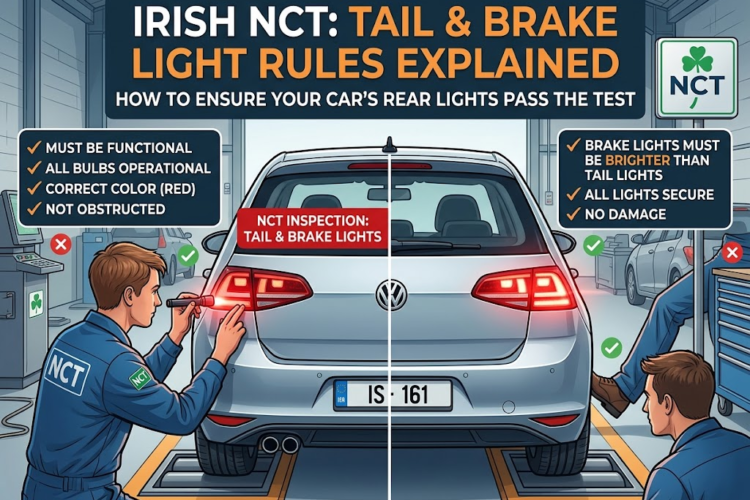
Don’t forget to check your rear lights before an NCT. See tail light and brake light NCT rules in Ireland.
Replacing a tail light FAQs
Can I replace just the bulb instead of the whole tail light?
If your tail light uses bulbs, usually yes. If it has built-in LEDs, you often need to replace the whole unit.
Do I need to replace both tail lights at the same time?
Not usually. You can replace just the one that’s faulty, although a new bulb can look brighter than an old one on the other side.
How do I know which bulb my tail light needs?
Check your owner’s manual, or look at the number or shape on the old bulb. Match the type exactly.
Can I fit a used tail light?
Yes, if it’s the correct unit for your car and it’s in good condition. Match the make, model, year, side and position, and check the plug and bulb holders.
Will the new light need any adjustment?
Tail lights don’t need aiming like headlights do. Just check they sit flush and every light works.
Need a replacement unit?
Browse used car tail lights in Ireland and filter by make, model, year, side and county.